How to do a Soil Analysis - Step-By-Step Guide
Having a soil analysis is essential if you are wanting to know what fertiliser is best for your land whether that is a lawn/amenity turf, a paddock, flower bed or a garden vegetable patch.
Here is our easy step-by-step guide on what the process entails for a soil tests
- Once you have purchased one of our soil analyses, you will be sent a pack containing an A5 analytical order form, a clear plastic bag (this is the soil sample bag) and a white plastic pre-paid envelope.
- Collect the soil samples
- For more information on how to do this, see here.
- Put both the A5 analytical order form and your soil sample in the pre-paid white plastic envelope and pop it in the post
- It is important that you include the A5 analytical order form with your soil sample so that the laboratory know who to contact once they have completed their analysis
- Be careful if you are having more than one field sampled to make it clear on your form which field each analysis is for
- Once the lab have analysed the soil samples and we have received your results, we will then send you a copy of the soil test results along with a fully tailored recommendations for you to use. This usually takes around 7-14 days. Our FACTS qualified technical advisors are also on hand to take you through the soil test if you have any questions
Make the most of your soil analysis - follow these instructions on how to collect your soil sample
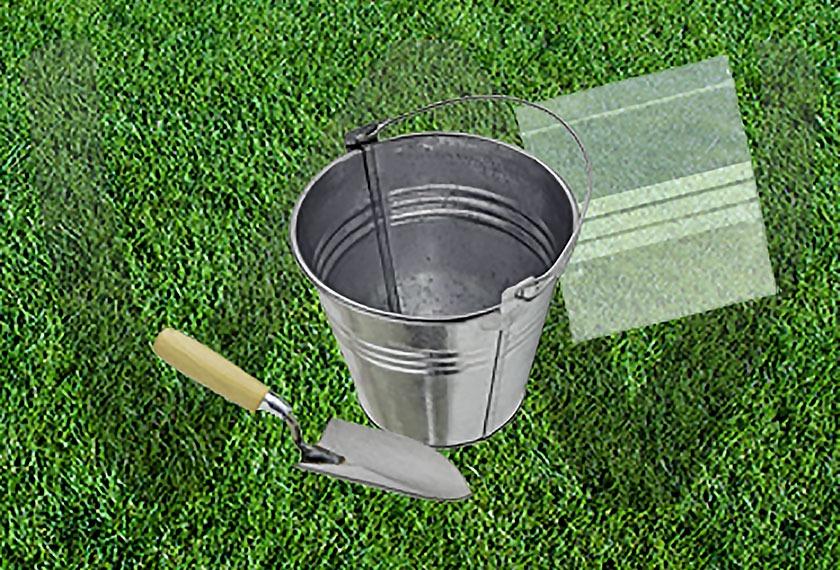
- What do you need for your soil test?
- Ideally a clean bucket, trowel and the soil sample bag that gets sent back for analysis
- Using a trowel take soil samples across the area that you are having analysed and place them in the bucket
- When collecting the soil sample you should dig as deep as the rooting depth of the plant areas you are analysing, for example, if you were testing a grassed area such as a paddock, you would normally dig to 10cm (4 inches) deep
- In order to get a result that reflects the whole area that is being tested, walk in the configuration of a “W” collecting sample at each point (shown in picture below)
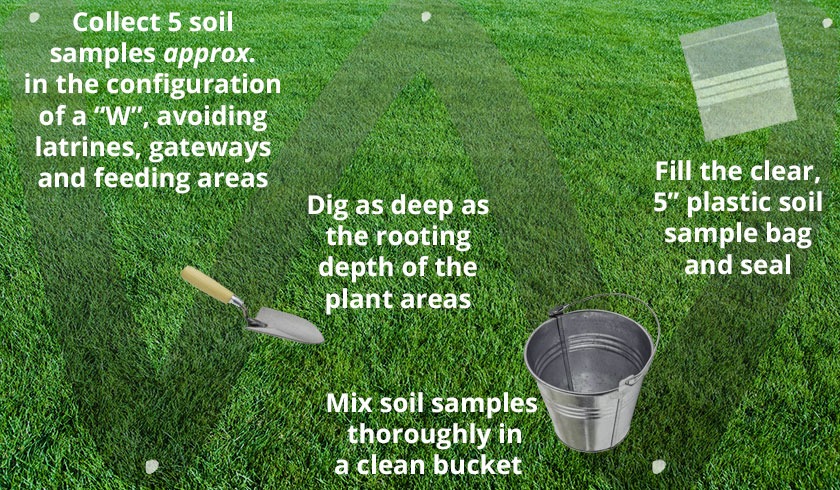
- Avoid taking samples from certain areas such as under gateways, around water troughs, hedge lines and under trees
- When you have all of the soil samples in the clean bucket mix thoroughly – this will ensure accurate results
- Fill the clear plastic soil sample bag and seal.
Take a look at our available soil analysis tests to find the right one for you.


